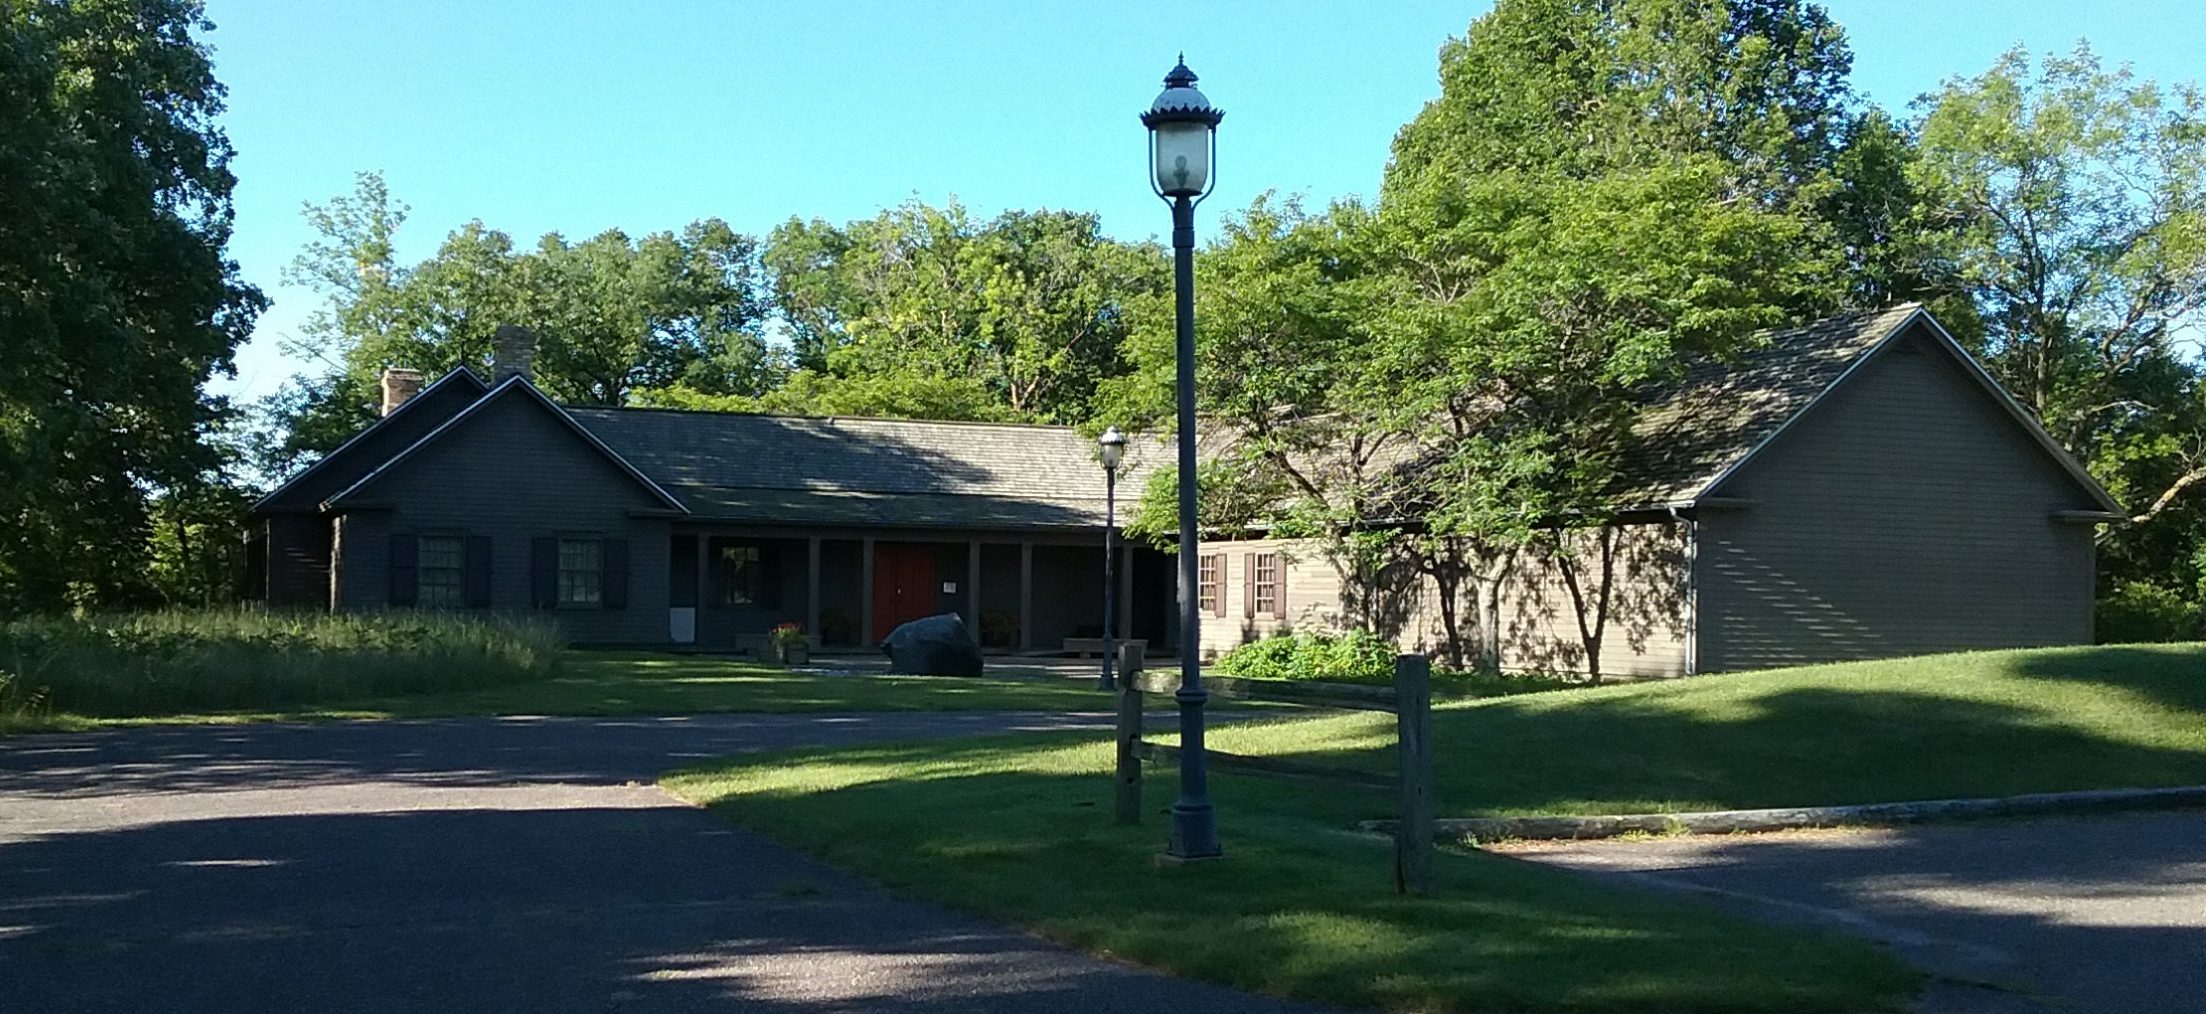
A week ago Friday (October 4), Ann Marie and I attended a conference at the Stearns History Museum in St. Cloud, MN. The conference was hosted by the Minnesota Alliance of Local History Museums (MALHM) and was a continuation of three years worth of disaster planning conferences the organization has done in conjunction with the Midwest Arts Conservation Center (MACC). Elisa Redman of MACC led the conference, which covered the specific topic of salvaging collections materials and artifacts after a disaster has occurred.
Did you know that the most likely disaster scenario concerning artifacts is flooding or water damage? This isn’t simply a matter of preparing for lots of rain or a swelling river. Museums have to concern themselves with potential water damage from burst pipes or leaky roofs. Even with a fire, there’s the potential for water damage due to the use of water in extinguishing the fire.
With that in mind, Elisa discussed how we should go about salvaging artifacts from water. Before she talked about the nitty-gritty of salvage, she had us each pick an “artifact” (miscellaneous unimportant items she uses for classes like this) and put it into a container of clean water. Our “artifacts” soaked while she explained that when it came to salvaging our collections, we have to examine what each item is made of. We were to look at artifacts from a materials perspective, not from a curator’s perspective. While this might seem like a hair-splitting distinction, it’s not. A curator will look at artifacts from the standpoint of historical importance. For example, given the choice between an irreplaceable, rare early history of a locale and a modern romance novel that can be readily purchased, the curator will choose to save the rare book first. Ideally, when writing a disaster plan, the curator should include a prioritized list of top ten or twenty items that should be saved first.
All things being equal, when it comes to salvaging artifacts from water damage, there is a particular order one must use in pulling items out of the water and this is where the materials perspective comes into play. The very first artifacts to be removed from water are the ones that bleed – the ones that are losing colorant. As it turns out, Ann Marie and I had both selected “artifacts” that were bleeders for our experiment. Ann Marie had a bright green hat with a matching feather. The feather was the bleeder. I chose an old box that was made of dark red cardboard. Another conference participant had placed a bright pink heart-shaped box in the same water tub with my box, so we weren’t sure what was bleeding at first. Turns out that the pink on the heart-shaped box was a polyester material, which tends to hold colorant fast. The reason for removing bleeding materials from water first is that the water will soak off the colorant, which will quickly ruin both the colored object and other items in the water.
Once the bleeders are removed, then paper items (including books) are to be removed, followed by textiles, costumes, and leather, then wood and furniture, then photos, then low-fired or unglazed ceramics, then metal items, and finally, glass and high-fired ceramics. When it comes to photos, because there are many different types of photos, there’s a particular order for removing those from water. Audio-visual materials, like cassette tapes, albums, and CDs, fall into the photo category and are a special case. Cassettes (both sound and video), for example, are supposed to remain in water until they can be taken to a conservator. Once they are removed from water, they’re done for. Rather than leave them in mucky flood waters, however, they should be moved into clean water. CDs, on the other hand, can be taken out of the water and gently cleaned.
After learning all of this, plus how to properly take items out of the tubs of water, we had lunch. In the afternoon, we were treated to another hands-on activity. Outside were two kiddie pools filled with scummy water and a variety of “artifacts”. The “scum” was cooking oil and baby powder. We were to work in groups to retrieve the artifacts in the proper order based on what we had learned in the morning. The first thing my group noticed about our pool was that there was an insect repellent container mixed in with our artifacts. Elisa had shown us that this was one of her teaching artifacts earlier and had told us that if there is anything hazardous within a flooded area that we were not to start salvaging things until the hazard was mitigated by those trained to deal with such things. Elisa was our Haz-Mat team and she removed the offending container.
Then we got down to business. Some group members worked to move the scum away from whatever item we were trying to salvage. We pulled out a painting – a potential bleeder – first, then went for a card that had been on top of the painting. In this case, the card was not totally soaked, but because of the scum, it was damaged. We were told that we should have fully submerged the card and attempted to remove it in an area where the surface had been cleaned. (Tough task with that vegetable oil.)
We cleared items one-by-one out of the pool and set them aside on clean newsprint in our staging area, where they could air-dry (except for the video cassette, of course, which went into a bucket of clean water). The whole process took a lot of thinking and careful maneuvering. It was not a simple matter of just reaching in and grabbing stuff, which is the typical human reaction. The conference was fascinating, but I can tell you, I sure hope we never have to use the knowledge we learned that day.
